
This method is my personal favorite method for sewing curves in most cases. I’ve tried the “lots of pins” method, but found that I had a hard time moving the fabric to make sure the seams were properly aligned. Even with lots of carefully-placed pins, I still needed to adjust the fabric placement, and had to stop to remove a lot of pins. I’ve also tried the no-pin method, but found that I had a hard time keeping my fabric aligned and ended up with mis-matched ends.
So, I’ve landed on the three pin method. I think it gives me enough freedom to move the fabric as needed, but the pins keep everything on track. Having those pins as markers helps me gauge how much ease is in each piece so that I can work it in as needed. There are many methods to sewing curves, so even if it feels intimidating, I hope you try out this method, or one of the others listed here and add curves to your quilting toolkit!
I like to use this method for most curves that I sew – quarter circles, orange peels, half circles, and irregular templates. You can also apply this idea to other, larger or more complicated curves that may need more pins. You can use these principles to find a middle-ground between the “all the pins” method or the no-pin method.
The Nitty-Gritty How-To
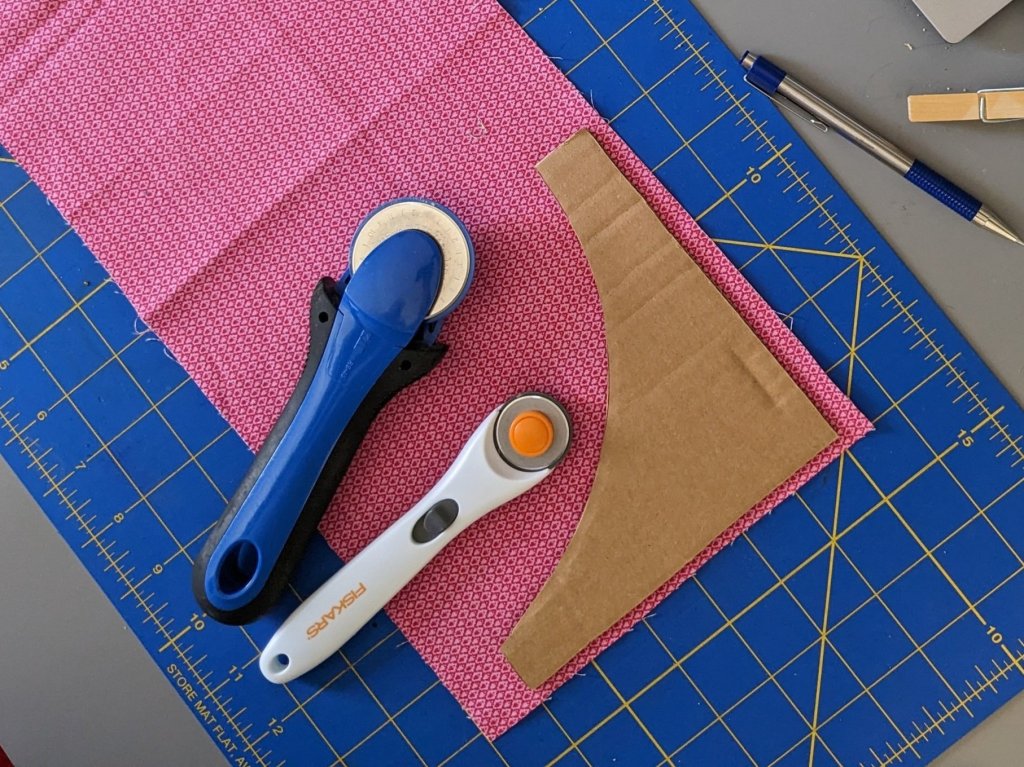
Cutting
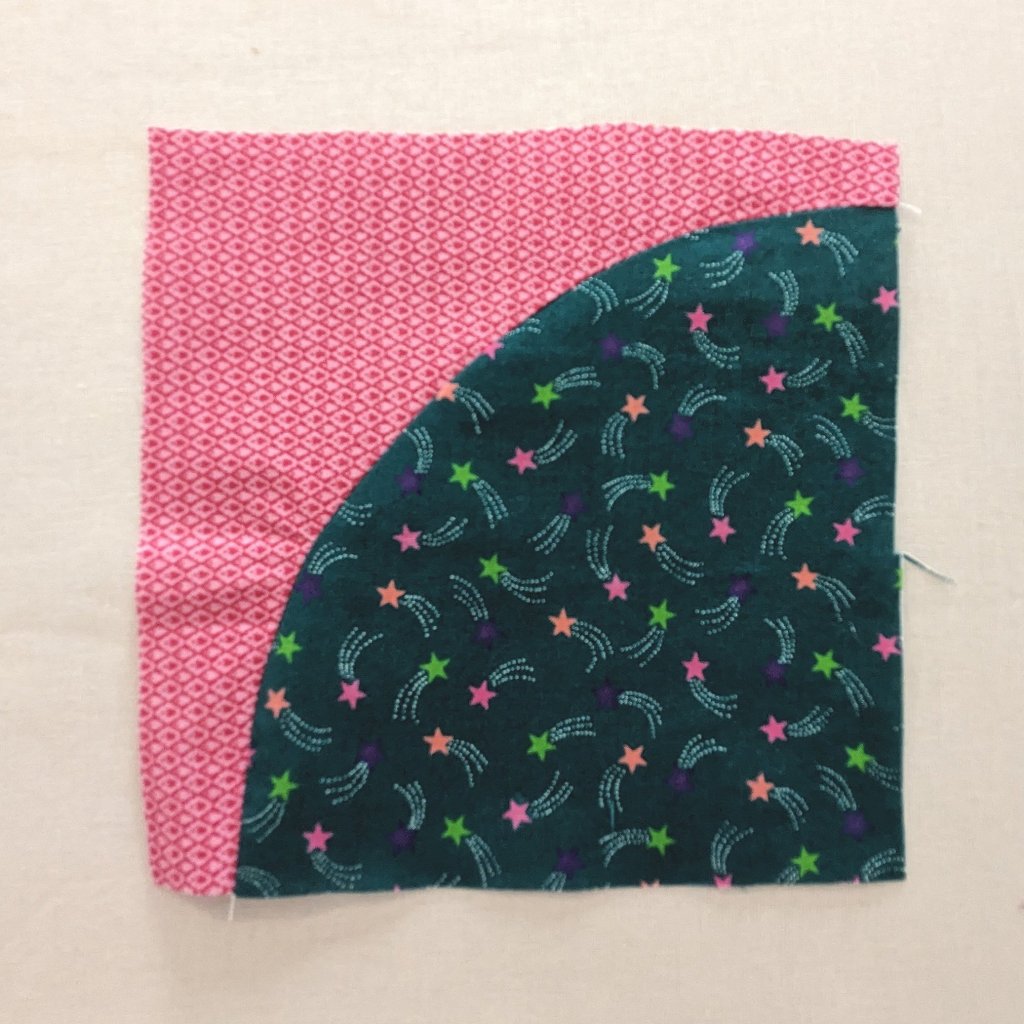
Cut your curved pieces accurately using the template or ruler indicated in the pattern. If you don’t have a specific ruler, it can be helpful to transfer a pattern template to a piece of semi-rigid plastic or cardboard. When cutting a tight curve, or the concave part of the curve, I often find it helpful to use a smaller rotary cutter. I personally have a 45 mm and a 28 mm, and will switch between the two when cutting curved pieces.
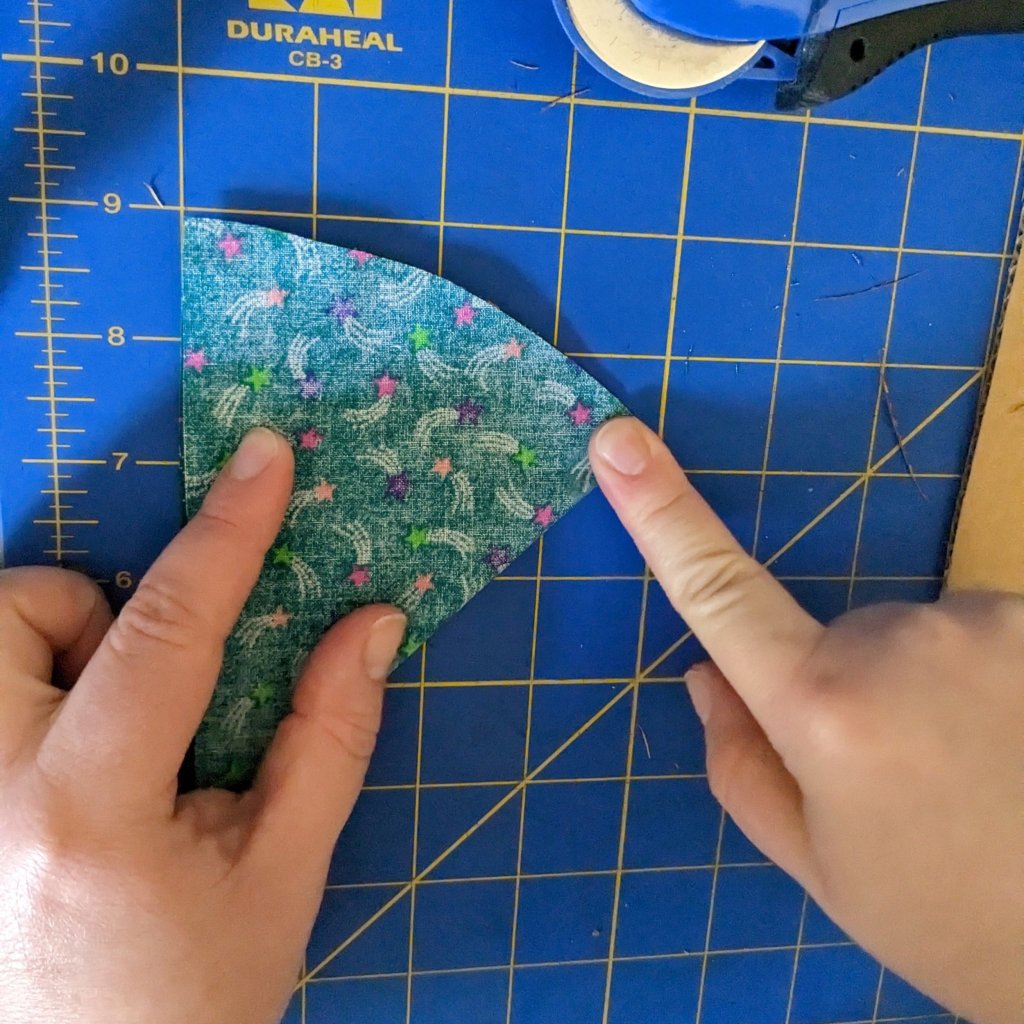
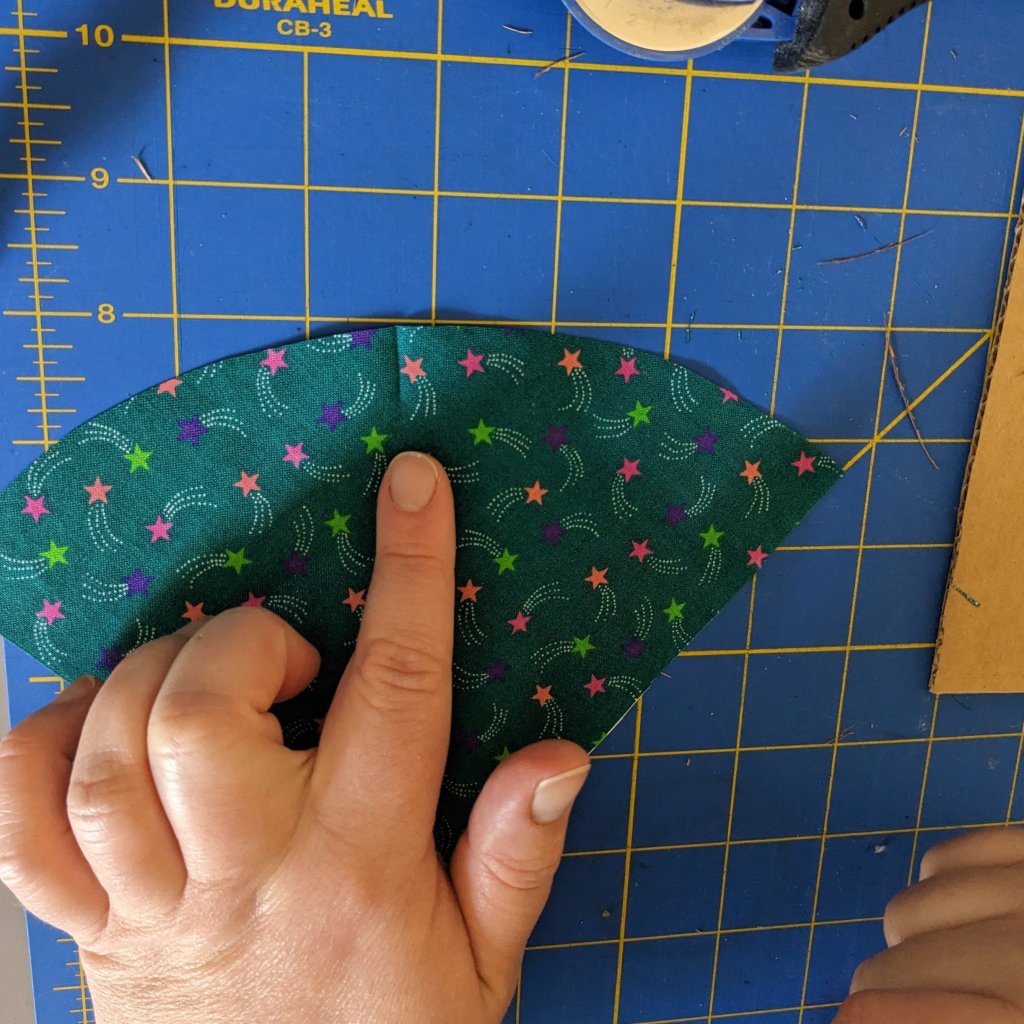
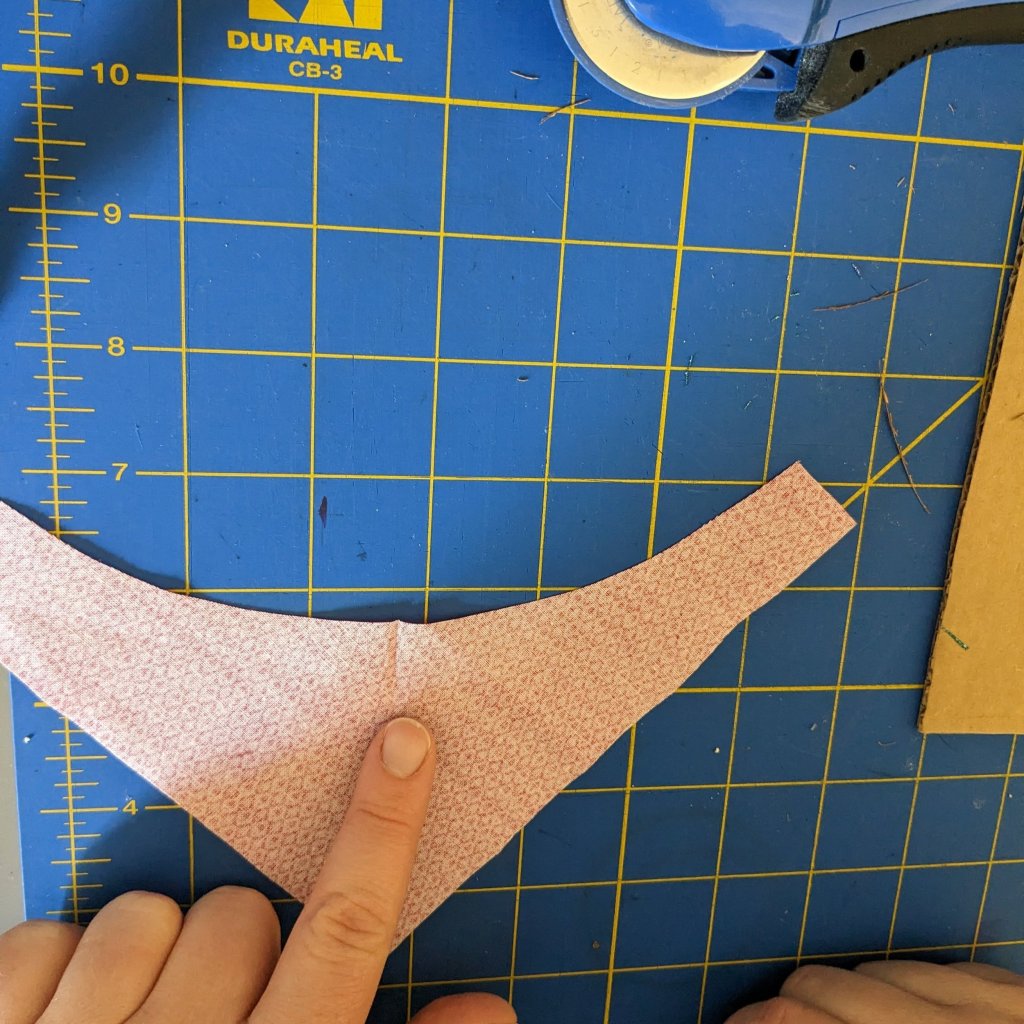
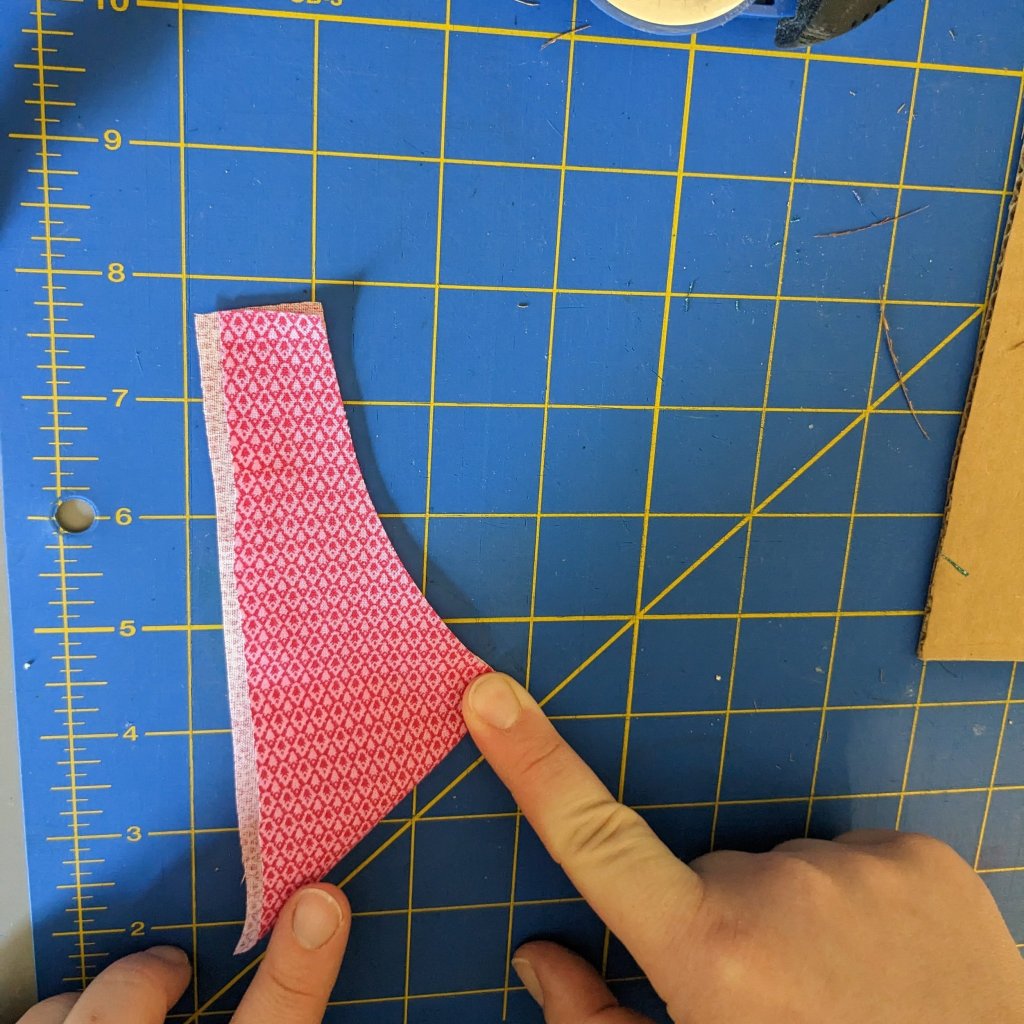
Marking
When marking, it can be really helpful to fold the two pieces different ways – Fold the convex piece right sides together and fold the concave piece wrong sides together when finger pressing. Folding the fabrics different ways will allow your curved pieces to sit neatly in the little crease you just made when preparing to pin them.

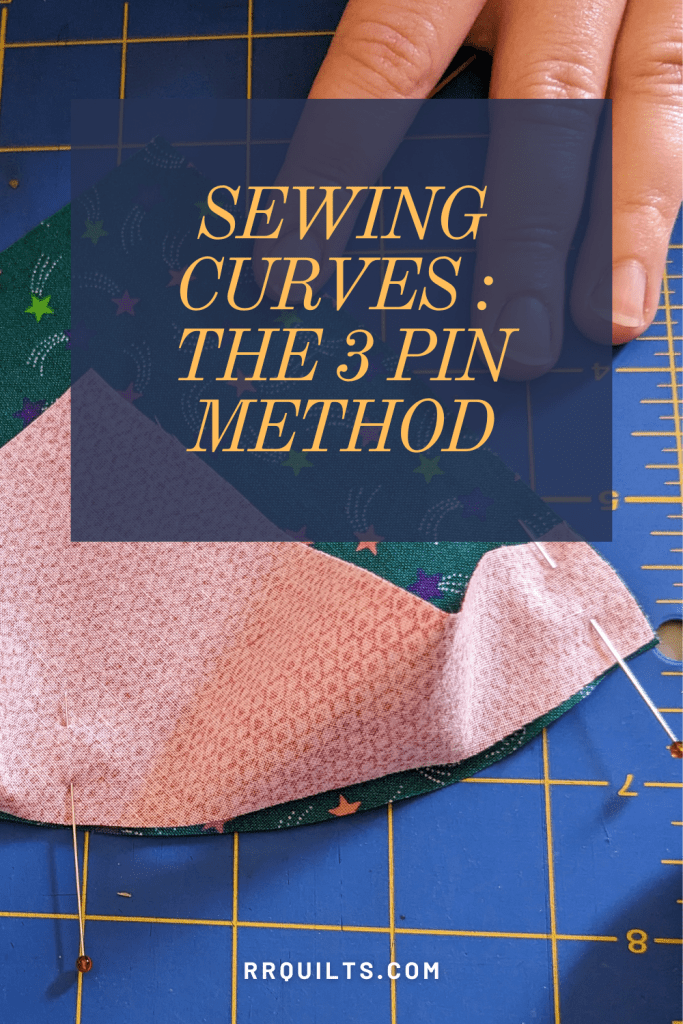
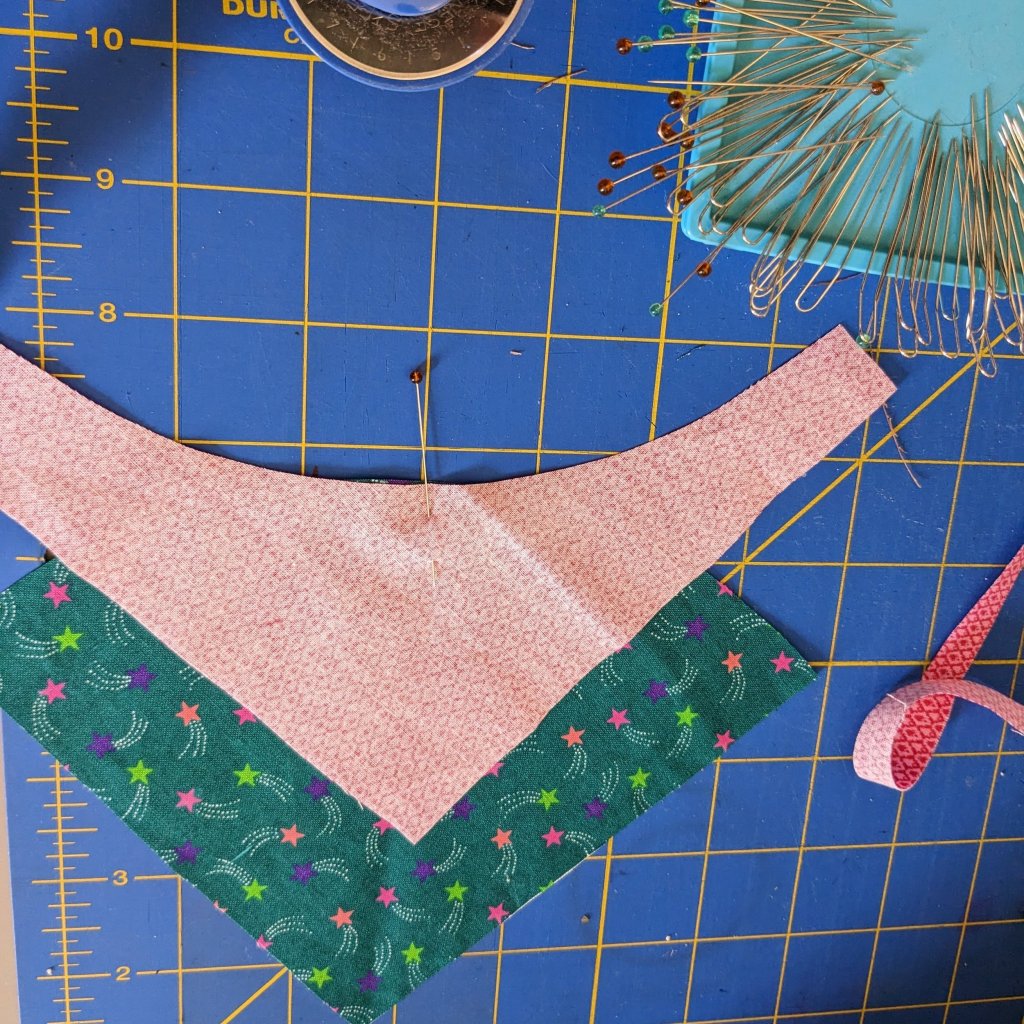
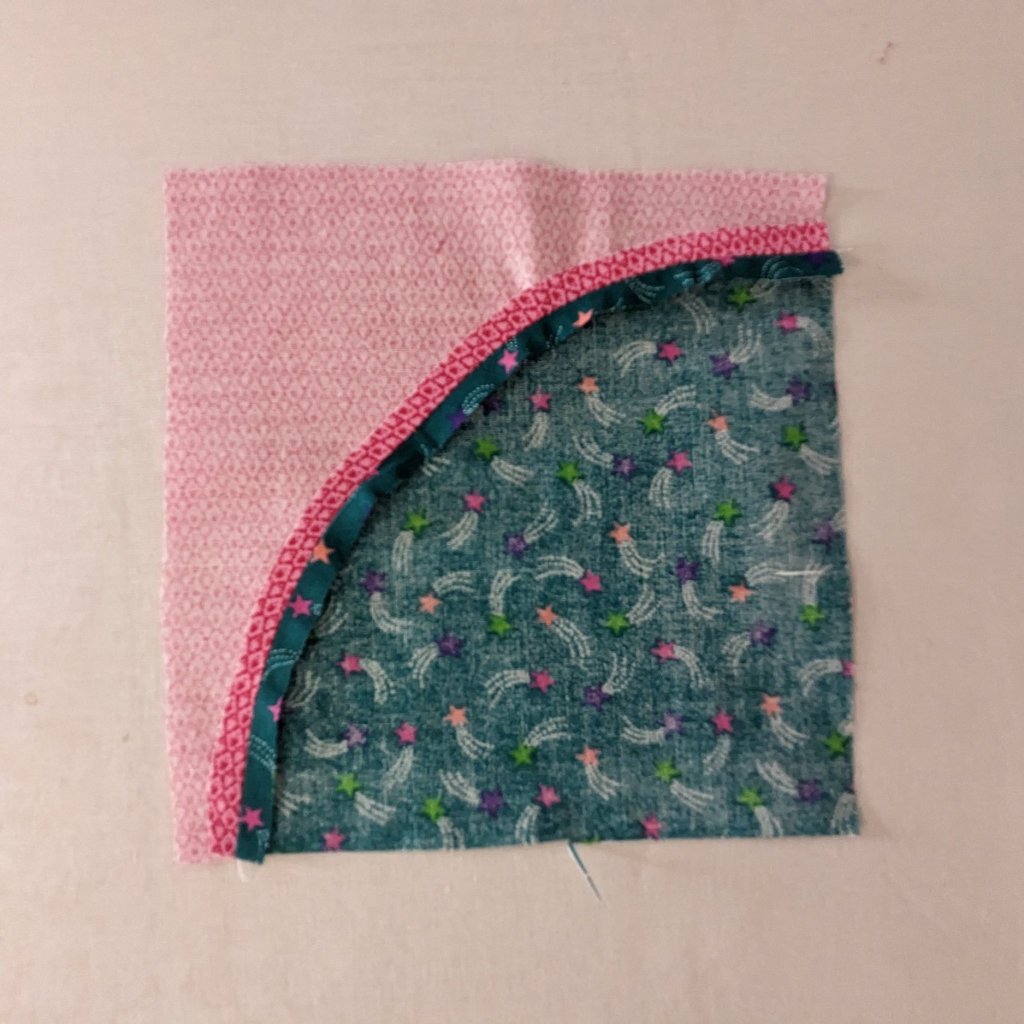
Pinning
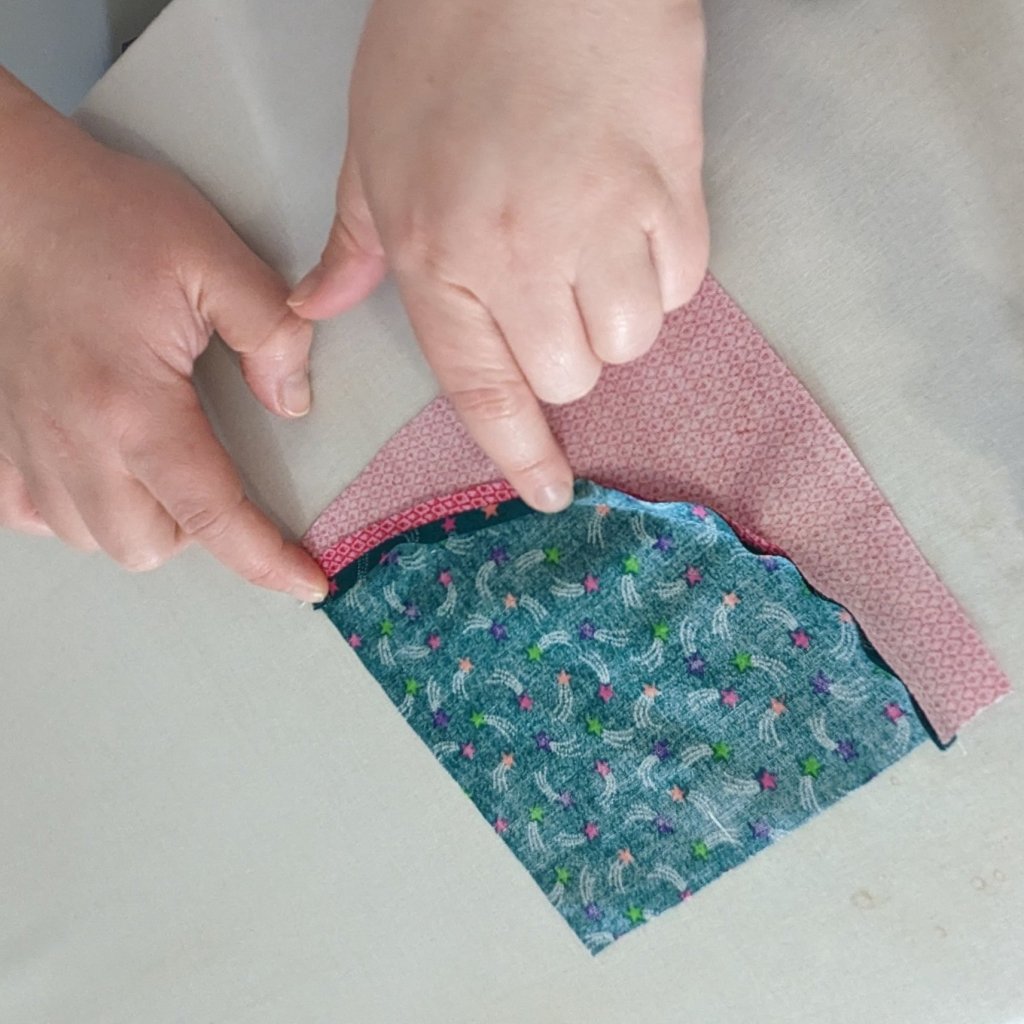
Align the marked center points and insert a pin. Insert pins at the beginning, middle point where you marked, and at the end of the curve.
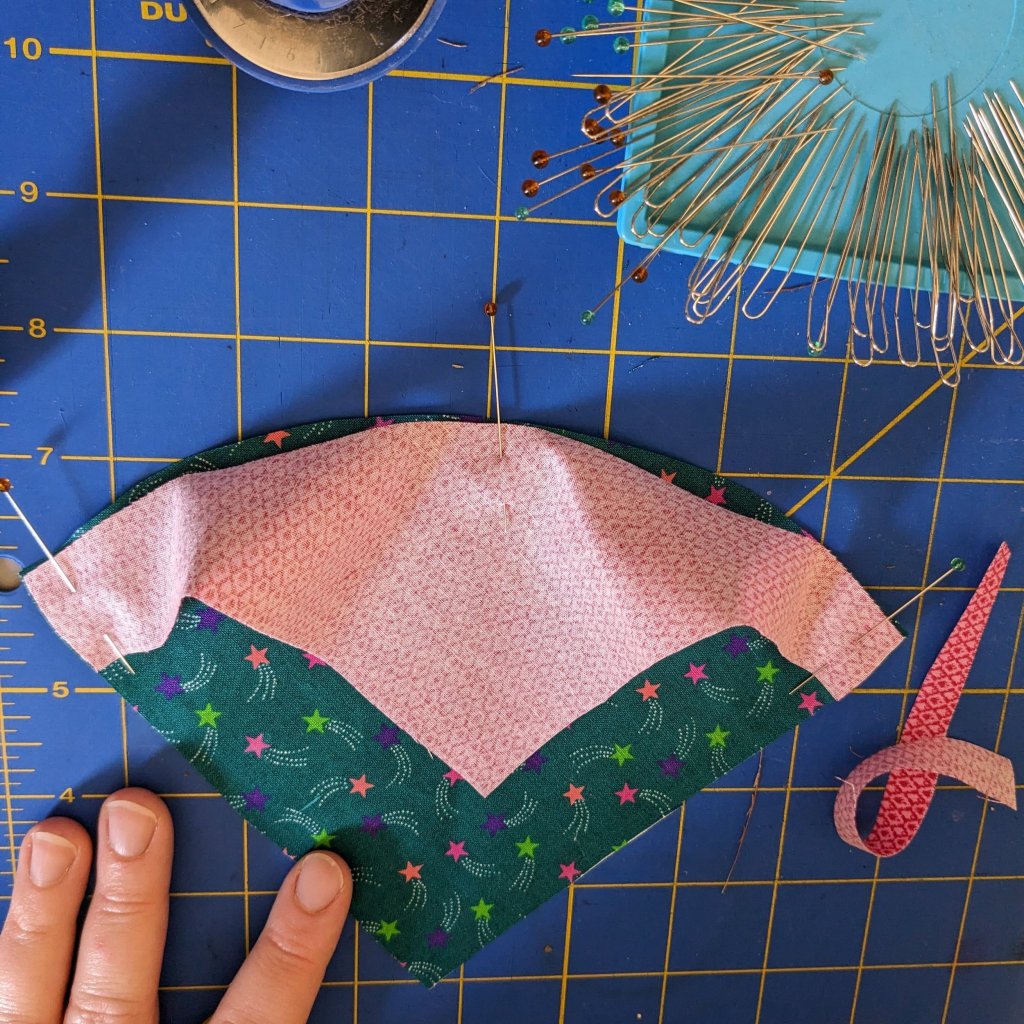
Sewing
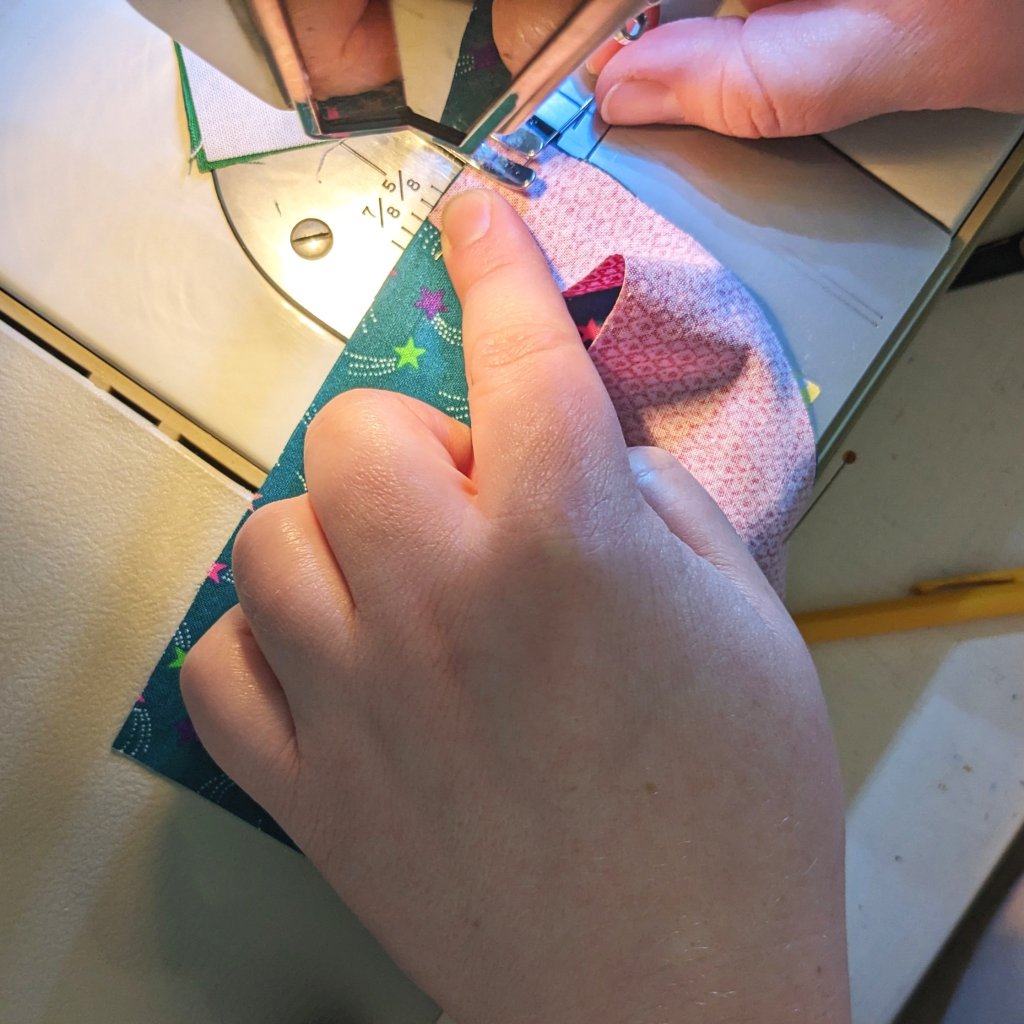
Sew your curve. Don’t be afraid to sew slowly so that you can adjust the fabric as needed. I use my fingernails or a stiletto i to push and pull the fabric gently into place. Being gentle with your adjustments helps avoid any puckers.
I also find it helpful to orient the workpiece such that the concave piece is on the top when sewing. This allows greater visibility and ease of manipulation to the more billowy piece and allow the convex piece to lie flat on the bottom.
Pressing
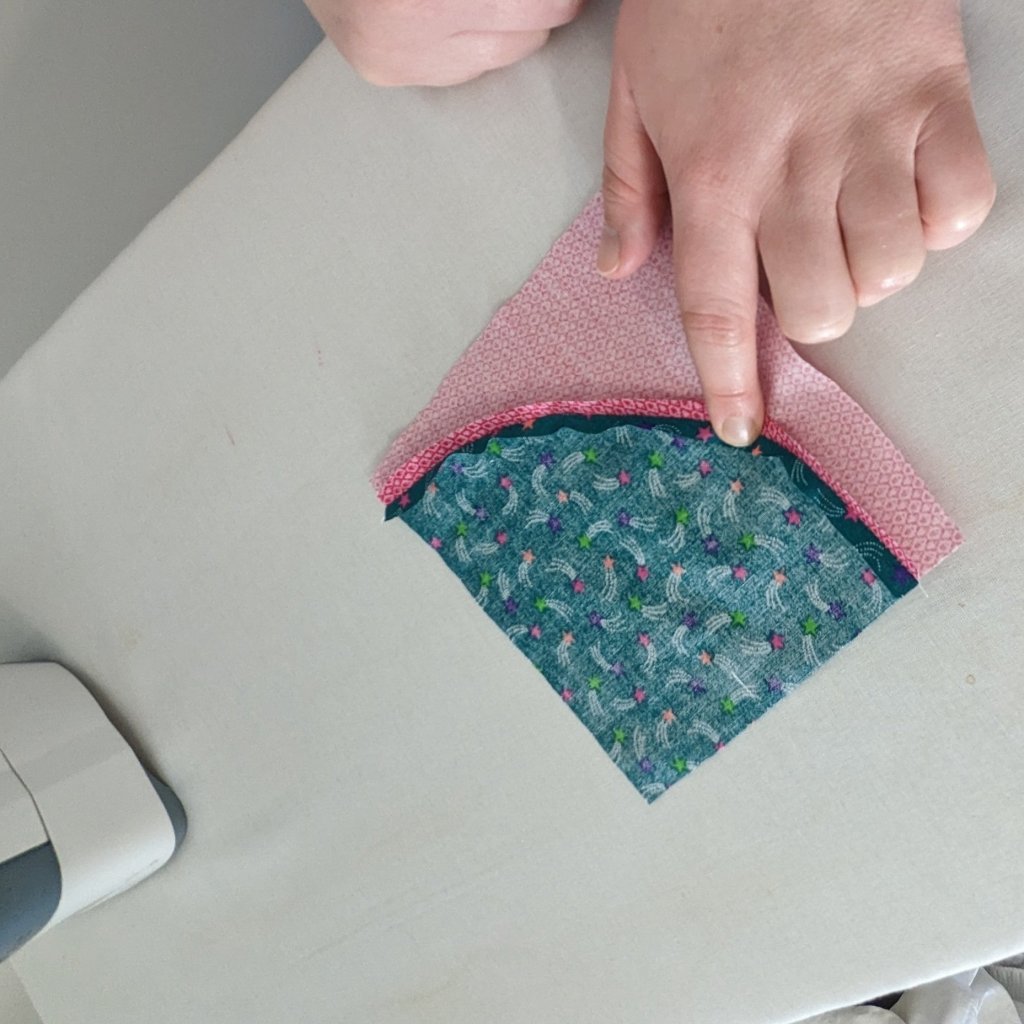
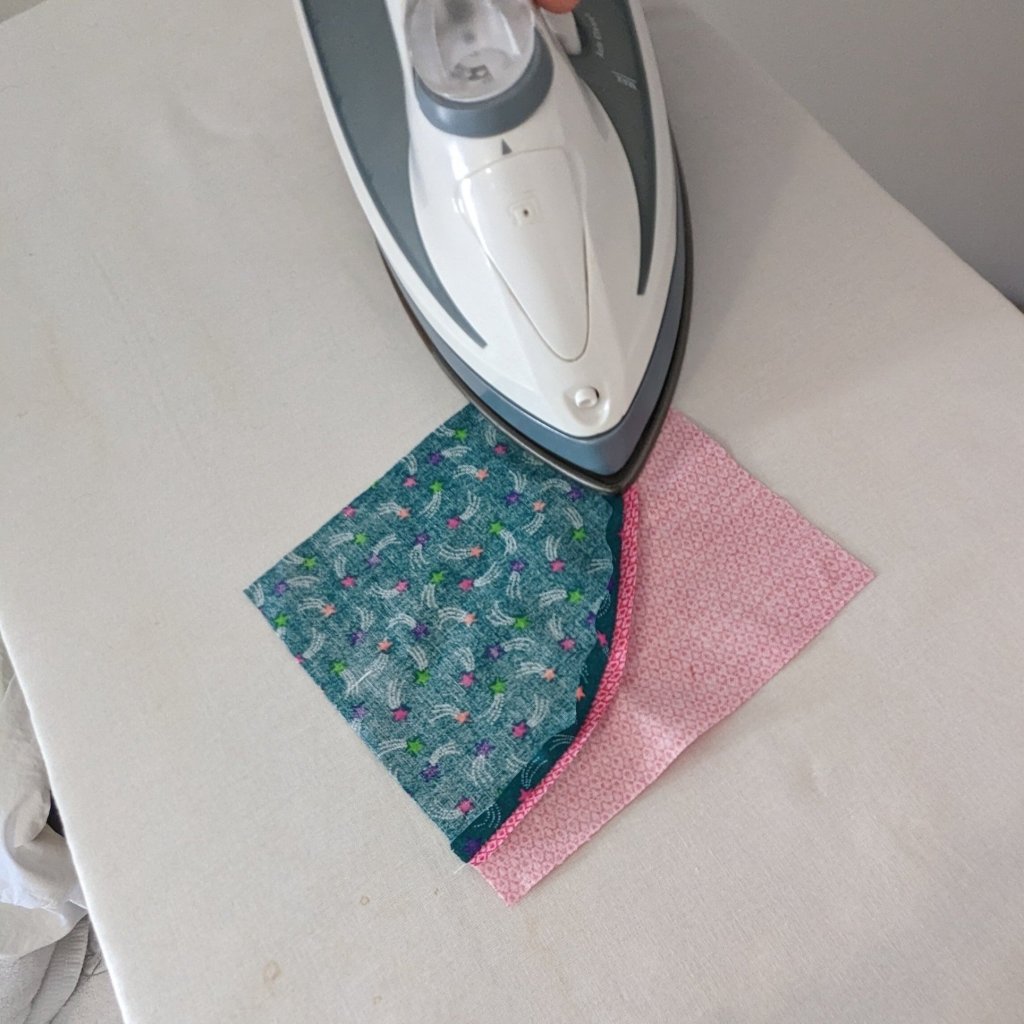
Usually, I’m a big proponent of “press as you please” but since watching this video by Tiny Orchard Quilts, I’ve become a fan of pressing my seams open on curved pieces. Generally, it’s great to set your seam with a quick press with a hot iron, use your fingers to gently press your seam open, and then follow with an iron. Although this has become my preference, pay attention to any pressing advice given in the pattern since the designer may have specific recommendations to allow the blocks to be assembled properly.
Trimming
Trim or square up to the size indicated in your pattern, paying careful attention to the amount of space needed on the concave piece.

Leave a comment